How to schedule a prerecorded video on Facebook Live

Do you want to live stream videos available on your computer on Facebook but don’t know how to do it? Don’t worry, in this article RentFB will guide you how to schedule a pre recorded video on Facebook Live. Stay tuned for more details!
What are the benefits of scheduling videos in advance on Facebook Live?
Scheduling videos in advance on Facebook Live offers significant benefits for both creators and audiences, including:
- Scheduling helps you prepare thoroughly for your broadcast, from scripting and gear preparation to ensuring quality content. This not only makes your stream more professional, but also helps you feel more confident about doing it.
- When you schedule your videos, viewers are notified and have time to prepare to participate. This increases audience engagement, as they can plan to watch the broadcast at the scheduled time. Additionally, pre-notification allows you to grab attention early, creating opportunities for promotion and building anticipation.
- Scheduling your videos in advance also helps you manage your time more effectively, especially if you are running multiple broadcasts or other activities. It helps you maintain a regular schedule and keeps your content fresh, which helps build and maintain a good relationship with your audience.
How to schedule a prerecorded video on Facebook Live
To stream videos available on your computer via Facebook Live using OBS software, follow these detailed steps:
- Step 1: Download the OBS software to your computer from the official OBS website. After the download is complete, install the software according to the instructions. Once installed, open the OBS software from the icon on the Desktop.
- Step 2: In the main interface of OBS, find and select the “Sources” item in the lower corner of the screen. Right-click on the empty area inside Sources and select “Add” from the context menu. In the list that appears, select “Media Source”.
- Step 3: A new dialog box will appear for you to create a new source. Enter a name for your source in the “Create New” field and then press “OK” to continue.
- Step 4: Next, you will see a new window open, in which you select the “Browse” button to browse and select the video you want to stream.
- Step 5: Find and select the video from your folder, then press “Open” to load the video into OBS.
- Step 6: If you want to customize the settings for the video, you can tick the options below such as “Loop”, “Restart playback when source becomes active” and “Use hardware acceleration when available”. After making the customizations, press “OK” to confirm.
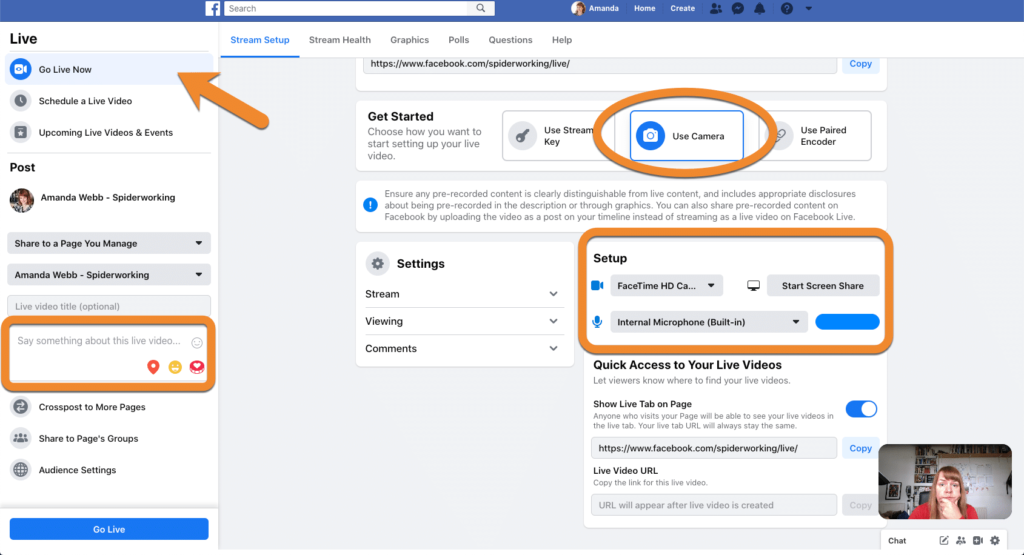
- Step 7: Log in to your Facebook account on a web browser and access the link to set up the live video. From this page, you will receive a Stream Key that is required for OBS.
- Step 8: Go back to the OBS software, in the upper left corner of the screen, select “File” and then select “Settings” from the menu.
- Step 9: In the Settings window, select “Stream” from the list on the left. Under “Service”, select “Facebook Live”. Paste the stream key that you copied from Facebook into the “Stream Key” box. Click “Apply” and then “OK” to save the settings.
- Step 10: Go back to the main interface of OBS and select “Controls” located in the lower right corner of the screen. Click the “Start Streaming” button to start streaming your video live to Facebook.
- Step 11: When you want to stop streaming, go back to “Controls” and select “Stop Streaming” to end the broadcast.
With the above steps, you can easily broadcast videos available on your computer directly to Facebook Live via OBS software, bringing a professional and convenient experience to viewers.

How to change scheduled videos on Facebook Live
When you’ve scheduled a Facebook Live broadcast but need to make changes, perhaps adjusting the video, timing, or canceling the broadcast, follow these detailed steps:
- Step 1: Go to Facebook Live Producer. You can do this by going to the Facebook main page and selecting “Live Producer” from the menu or searching for it in the Facebook search bar.
- Step 2: In the Live Producer interface, scroll down to find the “Scheduled Lives” section. This is where you will see a list of all the live streams you have previously scheduled.
- Step 3: To make changes to a scheduled live stream, click the three dots icon (or similar) next to the broadcast you want to edit. A menu will appear with different options. Here, you can choose to “Cancel Live Stream” if you decide you don’t want to do it anymore. If you want to change the time of the broadcast, select “Reschedule Live Stream” to choose a new date and time for the event.
- Step 4: If you just need to edit the post related to the live stream, such as the title or description, click “Live Video Settings.” This is where you can update information about your live stream, including details like the title, description, and other settings.
By following the steps above, you can easily manage and adjust your Facebook live streams, ensuring that everything goes according to plan and meets the needs of you and your audience.
The above article has provided detailed instructions on how to livestream existing videos on Facebook in a simple way. Thank you for watching, wish you success in your livestreaming!
Contact Info
Are you in need of Facebook advertising or need to rent a quality Facebook advertising account? Don’t worry! Rentfb is a unit specializing in providing reputable Facebook accounts, as well as direct advertising support. Provides all types of advertising accounts such as gambling ads on facebook to help you reach and create fast conversions.
Frequently Asked Questions
How to Save a Live Video on Facebook
To save a live video on Facebook after it’s broadcast, simply save it in your Facebook settings. After your live broadcast ends, Facebook automatically saves the video to your page or in your video library. To check or share the video, go to your personal or business page, go to Videos, and you’ll see that your live video has been saved. You can edit the title, add a description, and adjust your privacy settings before sharing the video with the community.
Livestreams are deleted after 30 days
On Facebook, live videos are automatically deleted after 30 days if you don’t save or share them. This means you need to make sure you save or share the video before the 30-day period ends, otherwise the video will be permanently deleted and cannot be recovered. To avoid losing important videos, regularly check and save your live videos immediately after broadcasting, or adjust settings to retain videos longer according to your needs.