How to delay Live stream on Facebook

The livestream feature on Facebook is a quick and effective way for you to share moments, images and information with everyone. In the article below, RentFB will guide you step by step to perform live stream and delay livestream on Facebook.
Learn how to livestream on Facebook
To live stream on Facebook without using software, you can follow these simple steps:
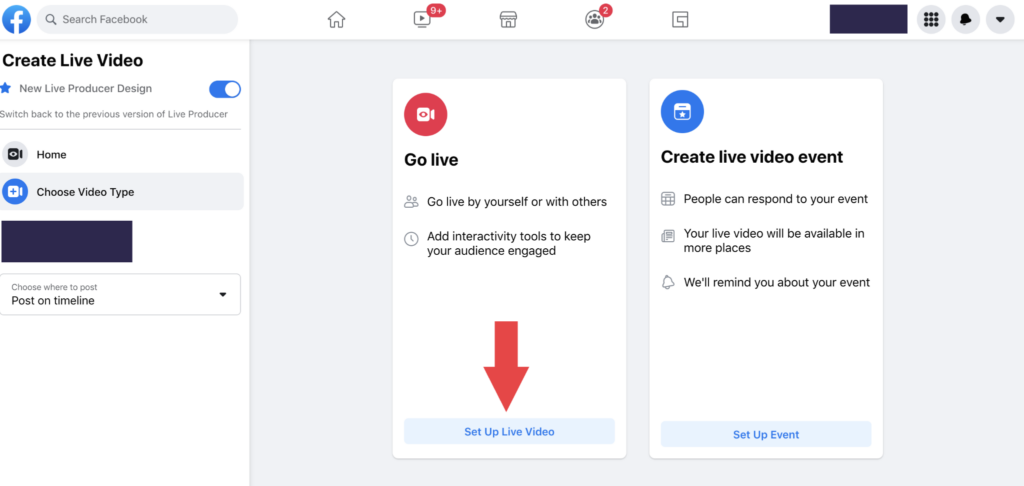
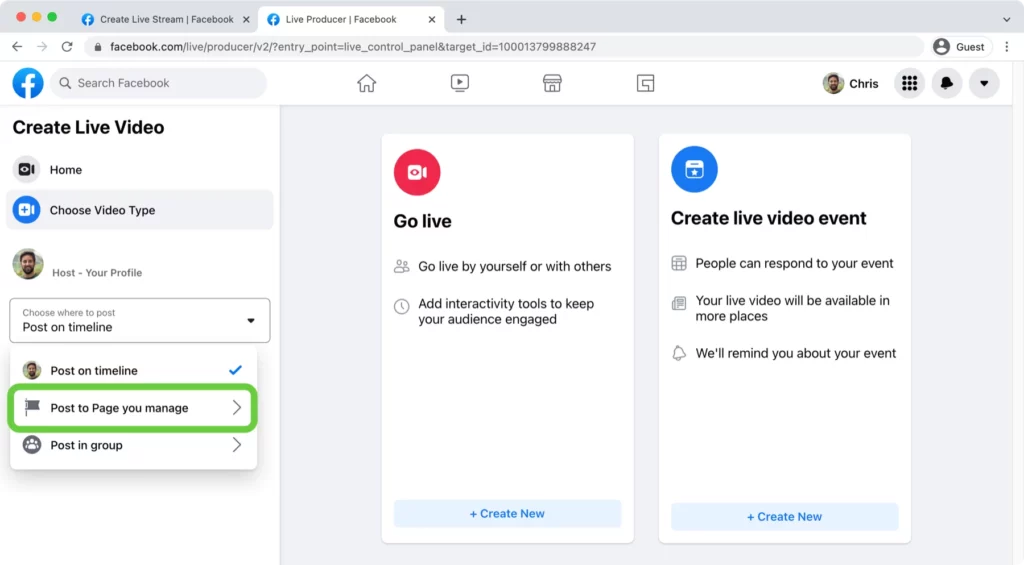
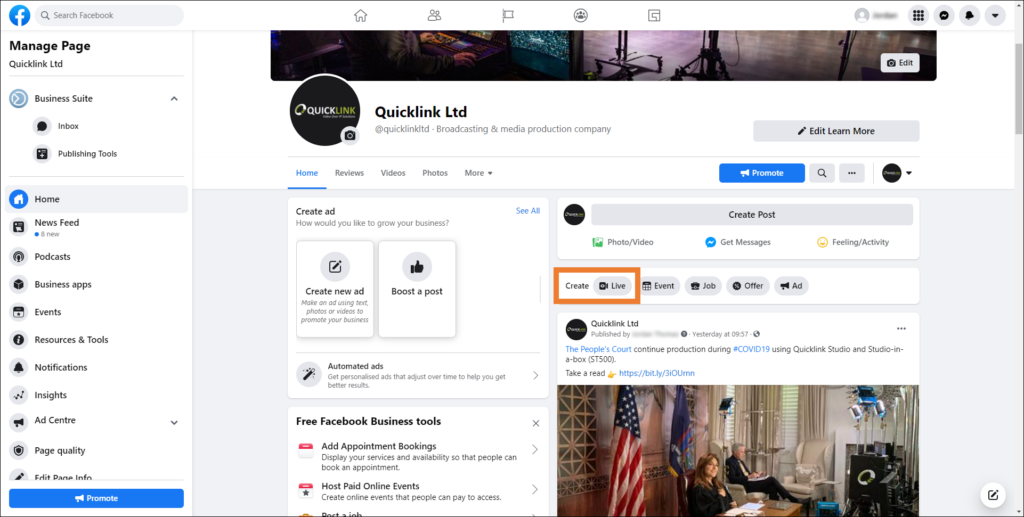
Step 1: Go to the Facebook homepage and select “Live video.”
This is the first step for you to start live streaming directly on Facebook without any supporting software.
Step 2: Make the necessary settings for your live stream.
In this step, you will need to add some information and customization to make the live stream more attractive:
- Live stream description: Write a short description of the content you are about to broadcast, add emotions to attract viewers, check-in your current location, and if you want, you can tag your friends to join.
- Add effects and filters: Facebook offers many effects and filters to make your live stream livelier and more interesting. Choose the effects that suit the content you want to convey.
- Adjust the camera and flash: Customize the front or rear camera according to your needs, and if necessary, turn on the flash to improve the lighting of your video.
Step 3: Start your live stream by selecting “Go Live”
Once you’ve completed the preparation and customization steps, simply tap the “Go Live” button to start sharing your interesting content with everyone.
Step 4: End your live stream.
When you want to stop your live stream, simply select “End.” You will then have the option to save your broadcasted video or not. Saving your video allows you to share content after your live stream and reach more people.

How to delay Live stream on Facebook
To delay a Facebook live stream, you need to take certain steps to ensure that your event is managed flexibly and effectively. Here are detailed instructions on how to delay a Facebook live stream:
Step 1: Go to the scheduled event or live video.
First, you need to go to the Facebook page where you scheduled the live stream. This can be done from your personal page, business page, or an event you created for the broadcast.
Step 2: Select the event or live video from your activity history.
If you scheduled the live stream as an event, find it in your list of events. If you scheduled it as a live video, find it in the scheduled videos section.
Step 3: Edit the event or live video information.
Once you have found the event or video, click the Edit option. In the edit section, you will see options to update the date and time of the event or live video.
Step 4: Change the live date and time.
Adjust the new date and time for the event or live video. You can choose a more suitable time to broadcast to ensure you have enough time to prepare or to better fit your viewers’ schedules.
Step 5: Save your changes.
Once you have updated the information, click the “Save” or “Update” button to save your changes. Facebook will update the new live broadcast schedule and notify people who have registered or are interested in the event.
Step 6: Notify viewers of the change.
To keep viewers informed, you should send out a notification or status update on your page to announce the delay. You can use Facebook posts or messaging tools to notify subscribers of the new live stream time.
Delaying a Facebook live stream is an effective way to ensure that your event runs smoothly and meets viewers’ expectations. By taking the steps above, you can easily adjust your schedule without losing the interest and preparation of your audience.

Refer to ways to turn off livestream notifications on Facebook
To turn off live stream notifications on Facebook, you can follow these steps on both your computer and your phone. Here are detailed instructions for each method:
Turn off live stream notifications on Facebook using computer
- Step 1: Access Facebook via a web browser and log in to your personal account.
- Step 2: On the main Facebook interface, click on the down arrow icon in the top right corner of the page, then select “Settings” from the drop-down menu.
- Step 3: In the “Settings” section, select “Notifications” from the left menu. When you enter the notifications section, you will see a series of different options. Find and click on “On Facebook” and then select “Edit”.
- Step 4: Scroll down to the bottom of the notification settings page and find “Live Video”. Here, you will have three options: On, off suggestions, off all
Turn off live stream notifications on Facebook by phone
- Step 1: Open the Facebook app on your smartphone or tablet and log in to your account.
- Step 2: Tap the three-dash (menu) icon in the top right corner of the screen to open the main menu.
- Step 3: In the menu that appears, scroll down to the bottom and tap “Settings & Privacy”, then select “Settings”.
- Step 4: Go to “Notifications”. You will be taken to a new window where you can see all the notification options. Scroll down and select “Video”.
- Step 5: Here, you will see the same options as on your computer: you can turn notifications on or off for live videos, including turning off suggestions or completely turning off all notifications related to live videos. Select the option that suits your needs and save the changes.
So, by following the steps above, you can easily manage and adjust your Facebook live video notifications, helping you control the information you want to receive from this social network.
Above is a detailed guide for you to delay live streaming on Facebook. Now, you can easily adjust the length of your livestream video according to your wishes. If you find RentFb’s article useful, don’t forget to share it with everyone. Thank you for watching!
Contact Info
We provide services dropship facebook nationwide, and with a team of experienced and qualified staff who both support advertising and can directly perform Facebook advertising if you need. Contact us via phone number.
Frequently Asked Questions
How to turn on the Facebook livestream notifications
To enable live stream notifications on Facebook, you need to follow a few simple steps. On your computer, log in to Facebook and go to Settings. From there, select Notifications and edit your live video options. Make sure you have notifications turned on for live streams so you can be notified as soon as a new live video is available. On your phone, open the Facebook app, go to Settings & Privacy, then Notifications and select Videos. Here, you can turn on notifications, so you don’t miss any live streams.
Facebook Live Video Lost
When a Facebook live video goes missing, there can be a number of reasons. Sometimes, an internet connection issue or a technical error during the live stream can cause the video to not be saved or displayed. If the video is no longer available on your profile or fan page, it may have been deleted due to an error on Facebook’s part or because you chose not to save the video after the broadcast ended. To fix this, you should check your internet connection, make sure you didn’t delete the video, or choose to save the live video after the broadcast ended.