How to create prepaid facebook ad account

A prepaid Facebook advertising account is a suitable solution for those who want to control advertising costs effectively. With this method, you only need to deposit money into your account before running a campaign, avoiding unexpected costs. In this article, RentFB will guide you step by step how to create prepaid facebook ad account quickly and easily. Follow along!
What is a prepaid facebook advertising account?
Facebook Prepaid Funds is a form of payment for advertising on the Facebook platform, in which you deposit money into your advertising account before launching a campaign. This is a convenient and effective payment solution, especially suitable for small businesses or individuals who want to strictly control their advertising budget. With this method, you do not need to use a credit card or pay bills after running an ad. Instead, you just need to prepay a certain amount of money into your advertising account. This amount will be deducted gradually each time your ad is active, making it easy for you to track and manage costs without worrying about going over budget.
Prepaid funds have many benefits, especially when planning your advertising budget. You can limit your spending, ensuring that you do not exceed your set budget. In addition, this method also helps avoid problems related to card payments, such as failed transactions or accounts being locked due to payment policy violations. Facebook prepaid funds are often applied in certain countries or regions, including Vietnam. It is suitable for those who are new to running ads, helping them get acquainted with how the Facebook Ads system works without worrying too much about the complicated payment process.
How to create prepaid facebook ad account
To create an ad on Meta (Facebook), you need to take some basic steps to set up your account and the appropriate payment method. Below are detailed steps to help you easily get started with advertising on Meta.

Step 1: Create an ad on Meta
First, you need to log in to your Meta Ads Manager account and start creating an ad campaign. Make sure you have completed the basic account settings, including campaign goals and target audience.
Step 2: Enter account information
When entering your account information, you need to make sure you select the correct country and currency for your ad account. This is important because it will affect the payment methods accepted. Make sure the country and currency you select match the payment methods Meta supports in that country.
Step 3: Confirm advertising purchase
Once you have finished creating your ad, the next step is to confirm your ad purchase. Here, you will be asked to choose a payment method. Select the “existing funds” method if you have previously funded your ad account, then click the “Continue” button to proceed with the payment process.
Step 4: Review and confirm payment
Before you finish, you will see a confirmation screen where you can double check all of your ad campaign information and payment method. Make sure all the information is correct, then click the “Continue” button to move to the payment step.
Step 5: Enter business information and payment amount
At this step, you will be asked to enter details about your business, including your business name, tax identification number (if applicable), and other relevant information. You will also need to enter the amount you want to deposit into your advertising account, up to the allowed payment limit. Once completed, click “Pay” to continue.
Step 6: Deposit money into your advertising account
Follow the on-screen instructions to add funds to your ad account. These steps may vary depending on the payment method you choose. You can choose to pay via credit card, debit card, bank transfer, or other methods supported by Meta.
Step 7: Update advertising account balance
Once your payment is complete, your ad account will be funded and your balance will be updated immediately or after the payment is completed, depending on the payment method you used. You will be able to track the remaining funds in your account and use them for future ad campaigns.
Step 8: Check and confirm again
If you’re having trouble adding an existing funding method to your ad account, make sure the payment method you’ve selected is accepted in your ad account’s country and currency. If the information doesn’t match, you won’t be able to complete your payment.
With the above steps, you have completed the process of funding your advertising account and can start running ads on Meta. Always double-check your account information and payment method to ensure everything goes smoothly.
Instructions for adding money to your prepaid advertising account on Facebook
To top up your Meta ad account’s prepaid balance, you can follow these steps to easily complete the transaction and ensure your account always has enough budget to run ads.

Step 1: Go to Payment Settings
First, you’ll need to go to the “Payment Settings” section of your ad account. This is where you can check and manage your ad account’s payment methods and prepaid balance.
Step 2: Select Deposit
In the Prepaid Funds section, you will see the “Deposit” option. This is the next step for you to add funds to your advertising account. Click on this option to proceed with the deposit.
Step 3: Enter the amount
Next, you will need to enter the amount you want to deposit into your advertising account. Note that the amount you enter must not exceed the system’s allowed limit. You can check this limit before proceeding to ensure that the amount entered is correct.
Step 4: Choose payment method
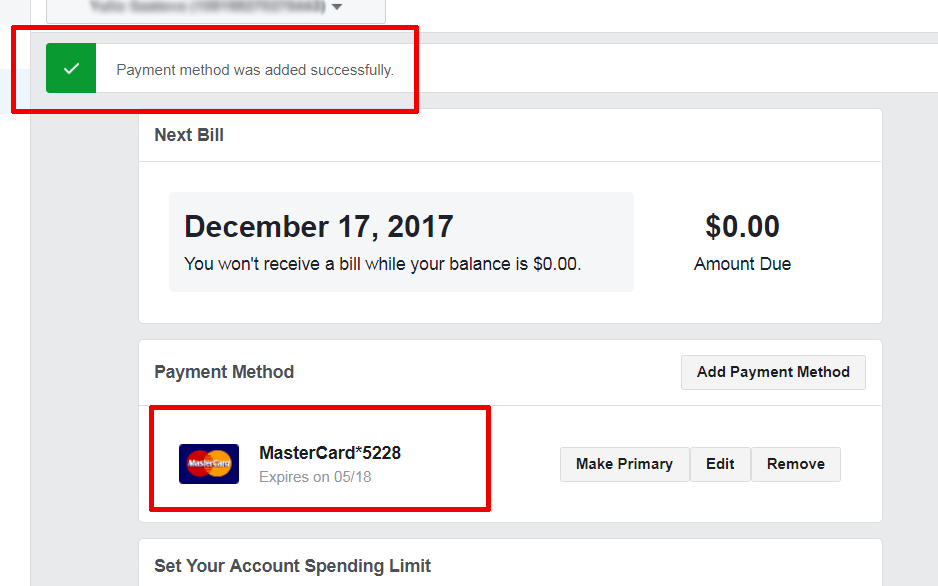
After entering the amount, you will be asked to select a payment method. You can choose an existing payment method or if you don’t have a payment method yet, you can click “Add payment method” to add a new one. Meta supports a variety of payment methods, including credit cards, debit cards, bank accounts, and other electronic payment options.
Step 5: Follow the instructions to deposit
Once you have selected your payment method, follow the on-screen instructions to complete the transaction. These steps may vary depending on the payment method you choose. Make sure you provide complete information and confirm all requests to ensure funds are properly deposited into your account.
Not only does the prepaid fund simplify the payment process, it also helps optimize your advertising strategy, thereby increasing the effectiveness of your campaigns. If you are looking for a flexible and easy-to-manage payment method, Facebook prepaid fund is definitely worth considering. Good luck with your application!
Contact Info
Information about “How to Create Prepaid Facebook Ads Account” hopes to provide you with additional necessary knowledge. At Rent FB, there is a team of highly qualified and experienced staff and experts who will provide rent facebook agency ad account as well as support when you run Facebook ads. Contact us via phone number.
Frequently Asked Questions
Funding your Facebook advertising account using the Momo e-wallet is currently not directly supported by Facebook. This means that you cannot use Momo as an official payment method to fund your advertising account on the platform. However, you can consider alternative solutions, such as linking Momo to a Visa or Mastercard, then using this card to pay. If you have problems funding, double-check your payment information, make sure the card or linking method has a valid limit, and complies with Facebook’s requirements.
When choosing between prepaid and postpaid advertising on Facebook, you should consider based on the needs and financial capabilities of your business. Prepaid advertising helps you control your budget better, avoid the risk of overspending, especially suitable for small businesses or those who are new to advertising. Meanwhile, postpaid advertising is more flexible, allowing you to focus on campaign effectiveness before paying, but requires businesses to have a clear spending plan to avoid overdue debt. Depending on the scale and strategy, you can choose the appropriate method to optimize advertising effectiveness.