How to create a business ad account on Facebook

Facebook Business is an effective tool to support users in advertising and doing business on this platform, both on mobile phones and computers. To optimize customer reach, stay how to create a business ad account on Facebook and take advantage of its features. Let’s explore the detailed initialization steps with RentFB!
Learn about business advertising accounts on facebook
Facebook Business is a powerful tool that helps advertisers easily manage the entire process and effectiveness of marketing campaigns on this platform. With Facebook Business, businesses can closely control advertising campaigns, from creation to monitoring and evaluating results, ensuring that every marketing effort is performed optimally.
Beyond ad management, Facebook Business also allows users to share access to their ad assets with others on their team, such as employees, vendors, or business partners. This helps optimize collaboration, improve team performance, and ensure that everyone involved has access to the information they need to do their jobs.
Using Facebook Business not only helps businesses manage advertising more effectively, but also creates flexibility in managing and sharing resources, making the marketing process more transparent and collaborative.

How to create a business ad account on Facebook
To create a business account on Facebook Business, follow the detailed steps below:
- Step 1: Go to the Facebook Business website at https://business.facebook.com/. Once on the page, click on “CREATE ACCOUNT” located in the upper right corner of the screen. This is the first step for you to start the process of creating a business account.
- Step 2: Next, you will be asked to fill in the required information completely and accurately according to the form displayed on the screen. This information includes business name, email address, and other relevant information. After completing the information entry, click the “Submit” button to continue.
- Step 3: The Facebook system will send a confirmation email to the Gmail address you provided. Check your Gmail inbox and open the email from Facebook. There will be a confirmation link in this email. Click on the link to confirm your account information according to the instructions provided.
- Step 4: After confirming your account, go back to your Facebook Business page. Continue to set up the basic settings needed to start advertising for your business. This is an important step to configure the basic parameters of your account.
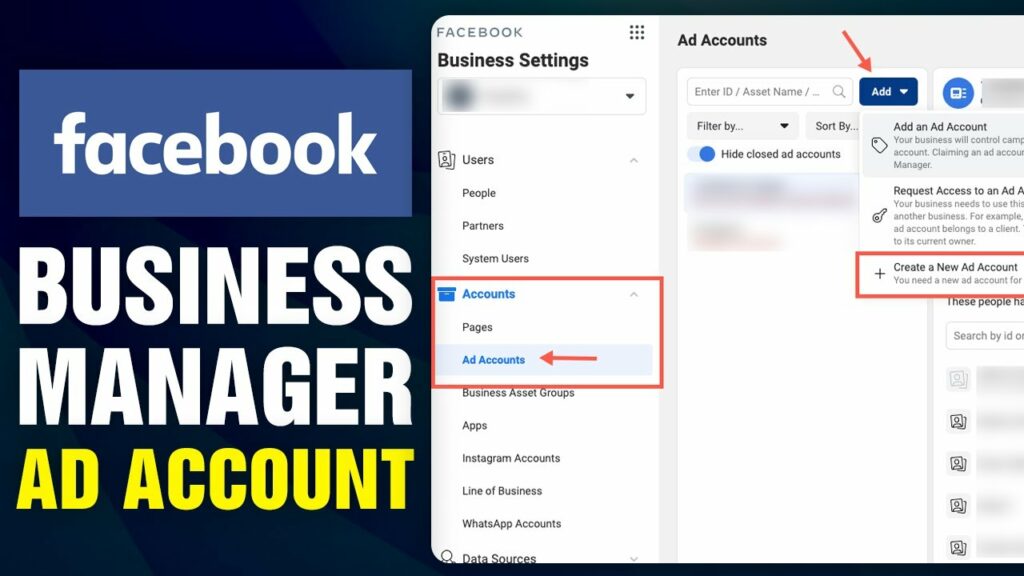
- Step 5: Once the basic setup is complete, you need to add an ad account to your business account. If you don’t have an ad account yet, click “Create a new ad account” to start the ad account creation process.
- Step 6: In the Create an advertising account section, fill in the required information in the form displayed on the screen. Click the “Next” button after completing the information entry.
- Step 7: Next, click on the “Add payment information” option to provide payment information for the advertising account.
- Step 8: Select the appropriate payment method for your ad account from the available options. After selecting the payment method, click “Next” to continue.
- Step 9: Finally, enter your payment card information accurately in the required fields. After checking and ensuring the information is correct, click the “Save” button to complete the process of creating a business account on Facebook.
Once the above steps are done, you will have a complete Facebook business account and be ready to start effective advertising activities for your business.

Instructions for using Facebook Business features
Add people to Facebook Business
To effectively manage and run ads on your Facebook Business Fanpages, adding people to the business manager is very important. Here are detailed instructions to do it:
- Step 1: Log in to your Facebook Business account. On the main interface, find and click on “People” in the management menu on the left side of the screen.
- Step 2: After entering the “People” section, you will see the “Add” button. Click on this button to start the process of adding new people to the business manager.
- Step 3: Enter the email address of the person you want to add and select the appropriate role or permission for them, such as administrator, advertiser, or analyst. Verify the permissions required to ensure the person is capable of performing the required tasks.
- Step 3: After setting permissions, click the “Send” button to send the invitation to that person. They will receive an email from Facebook with instructions to accept the invitation and join your Facebook Business.
Create an advertising account on Facebook Business
To create an ad account in Facebook Business, follow these steps:
- Step 1: From the Facebook Business management interface, find and click on the “Business Settings” option in the upper right corner of the screen. This is where you will manage all settings related to your business and ads.
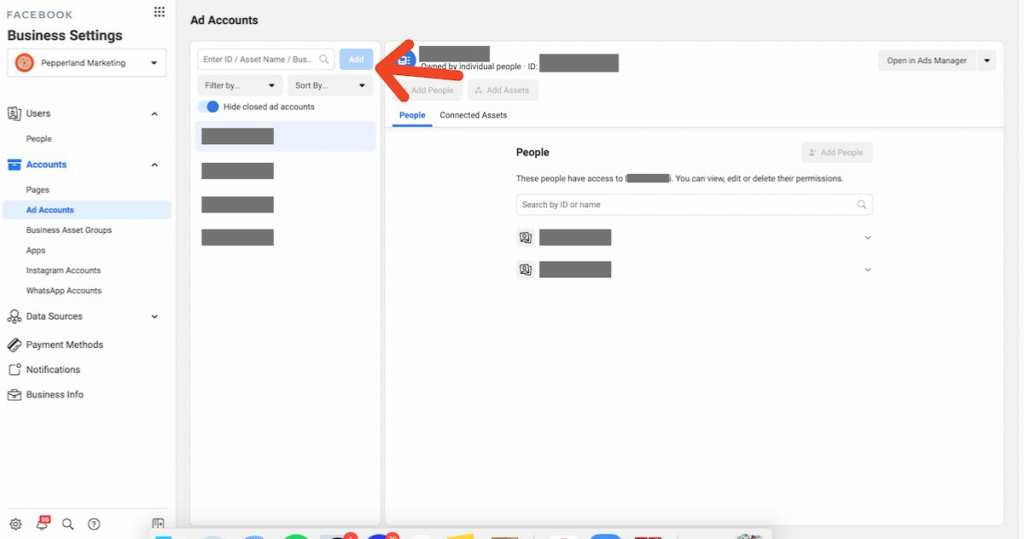
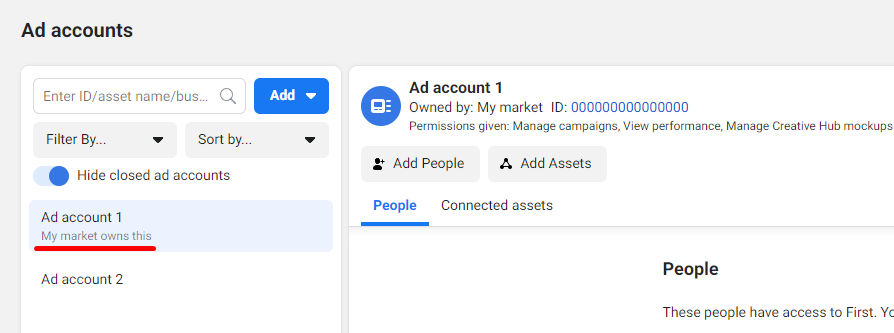
- Step 2: In the left column of the screen, find and click on “Ad Account”. Then, select “Add” and then click on “Create new ad account” to start the process of creating a new ad account.
- Step 3: A new window will appear asking you to fill in your advertising account details. You need to provide important information such as the advertising account name, time zone, and the currency you want to use. After filling in all the information, click the “Next” button to complete the advertising account creation process.
Delete Facebook Business Account
If you no longer need your Facebook Business account and want to delete it, follow the steps below:
- Step 1: In the Facebook Business management interface, find and click on “Business Information” in the left column of the screen. This is where you can view and manage information related to your business.
- Step 2: Find and tap on the “Permanently delete business” option. The system will ask you to confirm your deletion decision. Make sure you have backed up all important data before performing this step because deleting the account cannot be undone and all related information will be lost.
Following the above steps carefully will help you manage and optimize your Facebook Business activities effectively and properly.
In general, creating a business account on Facebook helps users manage multiple Fanpages at the same time, thereby improving advertising effectiveness. In addition, Facebook Business also allows you to easily coordinate with colleagues or partners via iPhone or computer, helping to manage data more effectively. Hopefully, the information in the article will help you optimize the advertising process and achieve the best results!
Contact Info
Are you in need of Facebook advertising or need to rent a quality Facebook advertising account? Don’t worry! Rentfb is a unit specializing in providing reputable Facebook accounts, as well as direct advertising support. Provides all types of advertising accounts such as casino facebook ads to help you reach and create fast conversions.
Frequently Asked Questions
Để thêm tài khoản quảng cáo vào Page trên Facebook, bạn cần truy cập vào Trình quản lý doanh nghiệp và điều hướng đến mục “Cài đặt cho doanh nghiệp.” Tại đây, chọn “Tài khoản quảng cáo” và nhấn vào “Thêm” để liên kết tài khoản quảng cáo hiện có hoặc tạo mới. Sau khi thêm, bạn có thể quản lý và chạy quảng cáo trực tiếp trên Page, giúp tối ưu hóa hiệu quả chiến dịch quảng cáo. Việc này rất quan trọng để đảm bảo các chiến dịch của bạn được quản lý một cách chính xác và hiệu quả.
Để truy cập tài khoản quảng cáo trên Facebook, bạn thực hiện theo các bước sau: Đầu tiên, đăng nhập vào tài khoản Facebook của bạn. Sau đó, truy cập vào trang Facebook Business tại địa chỉ business.facebook.com. Tại giao diện chính của Facebook Business, chọn mục “Trình quản lý quảng cáo” hoặc “Quảng cáo” từ menu bên trái. Bạn sẽ được chuyển đến trang quản lý các tài khoản quảng cáo của mình. Từ đây, bạn có thể xem, chỉnh sửa và theo dõi hiệu quả các chiến dịch quảng cáo của mình. Nếu bạn có nhiều tài khoản quảng cáo, bạn có thể chọn tài khoản cần quản lý từ danh sách hiện có.