How to add a location on Facebook page

If you have successfully created a store fanpage but do not know how to add an address or a location map to the fanpage so that customers can easily find it, do not worry. Adding an address to the fanpage not only helps increase professionalism but also makes it convenient for customers to search for information and come directly to your store. This is especially important for businesses with physical stores, where providing accurate information about the address, location on the map, or opening hours will help build trust and improve customer experience. Let’s refer to the instructions below with RentFB to update how to add a location on facebook page easily and effectively.
Add location fon Facebook page to increase store reputation
Adding an address and map to your fanpage is one of the important steps to help businesses optimize their ability to connect with customers. This is not simply updating information but also brings many practical benefits:
- Increase the professionalism of your fanpage: A fanpage with full information such as address, opening hours and location map will create a sense of trust and professionalism in the eyes of customers. This is especially important in building a brand image, especially if your business operates in the service or retail sector.
- Turn your fanpage into a real store: Adding a specific address helps your fanpage become a bridge between the online space and the actual store. Customers not only interact online but also know the location of the store, creating favorable conditions for those who want to visit directly.
- Increase customer accessibility: Customers today not only search for products and services online but also want to go to the store to check or buy. When your fanpage clearly displays the address and location on the map, customers will easily find the way to the store, increasing the opportunity to visit and shop.
With such obvious benefits, adding an address and map to your fanpage is not only a way to help customers easily find you, but also plays an important role in building brand reputation and increasing sales.

How to add a location on facebook page?
Adding a specific address to your Fanpage not only makes your fanpage more professional but also makes it easier for customers to find your store or business. Here are the steps to do it in detail and easy to understand:
Step 1: First, you need to log in to your personal Facebook account with fanpage administration rights. After successfully logging in, access the Fanpage you want to add an address to.
Step 2: On the Fanpage interface, find and click on the “About” tab. This is where basic information of the Fanpage is displayed, including description, phone number, email and address.
Step 3: Under the “About” section, you will see the “Edit Page Info” button. Click this button to access more detailed settings about your Fanpage’s information.
Step 4: After going to “Edit Page Information”, you will see a series of tabs such as “General”, “Contact”, “Opening Hours”,… Click on the “Location” tab to set up the address for the Fanpage.
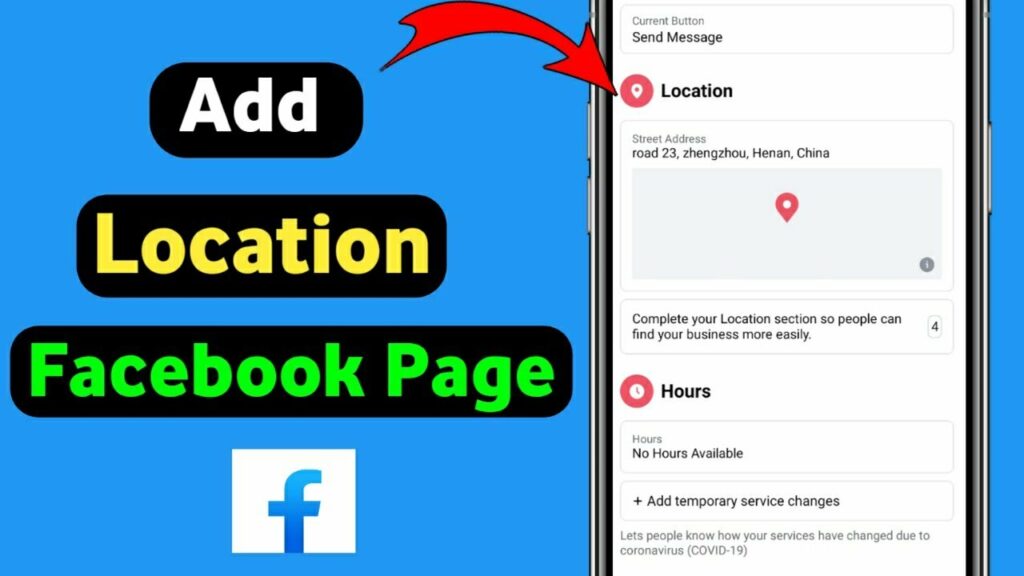
Step 5: In the “Location” tab, you will see an option called “Has a Street Address”. Check this box to enable address entry.
Step 6: After enabling the “Have Street Address” feature, you will see the input boxes below. Please enter your complete business address information, including: Street name, house number, City/ District, Postal code (if any), Country
Step 7: Make sure the information is entered correctly so that customers can easily find your location on the map. After entering the address, don’t forget to click “Save” to update the information. You can check again on the Fanpage interface to make sure the address is displayed correctly.
Note: The “About” tab is usually set up by default on all Fanpages. However, if you don’t see this tab, just go to “Edit Page”, then add the “About” tab to your Fanpage.

See location changes on Facebook fanpage
Updating the address for your Facebook Business Page is an important step to help customers find your store or business location more easily. Here are the detailed steps to edit the address for your Facebook Page:
Step 1: Log in to your Facebook account and go to the Page you want to edit. Make sure you have admin rights to the Page to make changes.
Step 2: Once you’re on the Page, you’ll see the main interface of the Page you’re managing. Scroll down below the Page’s profile picture to find editing options.
Step 3: Below your Page’s profile picture, you’ll see a section called “About.” Click it to access basic information about your Page, including a description, phone number, and business address.
Step 4: Under “About,” you’ll see a subsection called “Contact and Basic Info.” This is where you can edit information related to your business’s address, phone number, and other details.
Step 5: Next to your current address, there will be an “Edit” icon. Click this icon to start editing your business address. You can change the address or drag the map to reposition your business accurately.
Step 6: Once you have updated your address information, make sure it is filled in correctly. Click “Save” to confirm and save the changes. Your new address will be updated on your Facebook Page immediately.
Note
- You can only add one unique address for your Facebook Page.
- If you’re having trouble adding an address to your Page, check your permissions for the Page or try changing the Page’s category. Sometimes the Page’s category can affect editing an address.
- Connect with Instagram: If your Page is linked to your Instagram account, when you add or update your address on Facebook, it will also sync and appear on your Instagram map. This makes it easier for customers to find your location on both platforms.
Updating your business address will help customers find you easily and facilitate your business. Complete the above steps, your business address will be displayed on Fanpage, helping customers easily search and come directly to your store or business when needed. Wish you success!
Contact Info
We provide services dropship facebook nationwide, and with a team of experienced and qualified staff who both support advertising and can directly perform Facebook advertising if you need. Contact us via phone number.
Frequently Asked Questions
Pinning your address on Facebook makes it easy for customers to find your business location. To do this, go to your Facebook Page and select “About” below your profile picture. Next, go to “Contact and Basic Info,” then edit or add your business address. You can also drag and adjust the map to make sure the location is displayed correctly. When you’re done, tap “Save” to update the information. With a clearly pinned address, your Facebook Page will look more professional and accessible to customers.
Creating a check-in location on Facebook is an effective way for customers to easily record and share their experiences at your business. To do this, you need to log in to your personal Facebook account, then click on the “What’s on your mind?” box. In the status update section, select the “Check-in” icon (map pin) and type the name of the location you want to create in the search box. If the location does not exist, you will see the option “Add new location”. Click on it, fill in the complete information such as the location’s name, address, and category, then save. Once completed, the location will appear on the Facebook map, making it easier for others to check-in and recognize your brand.