How do you add a frame on facebook

When browsing Facebook Newsfeed, you see your friends have frames on their profile pictures. The feature of adding frames to profile pictures released by Facebook allows users to add filters or illustrations to their profile pictures to show support for events,… You want to create a frame for your profile picture on Facebook but don’t know how to do it? How do you add a frame on facebook professionally and beautifully? Please follow the article below of Rentfb for detailed answers!
What is Facebook Frame?
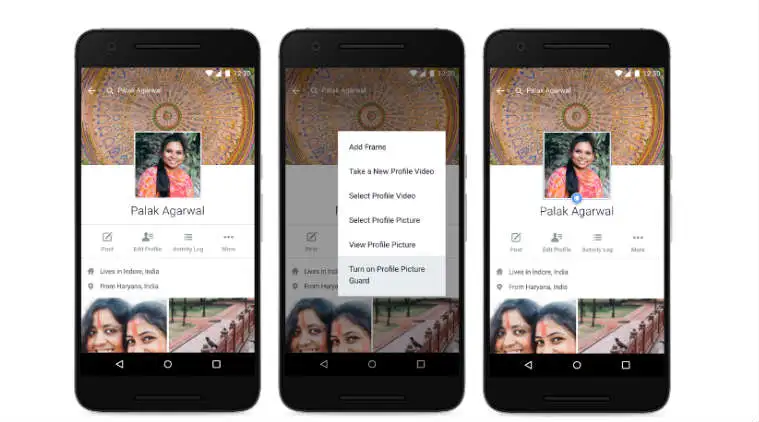
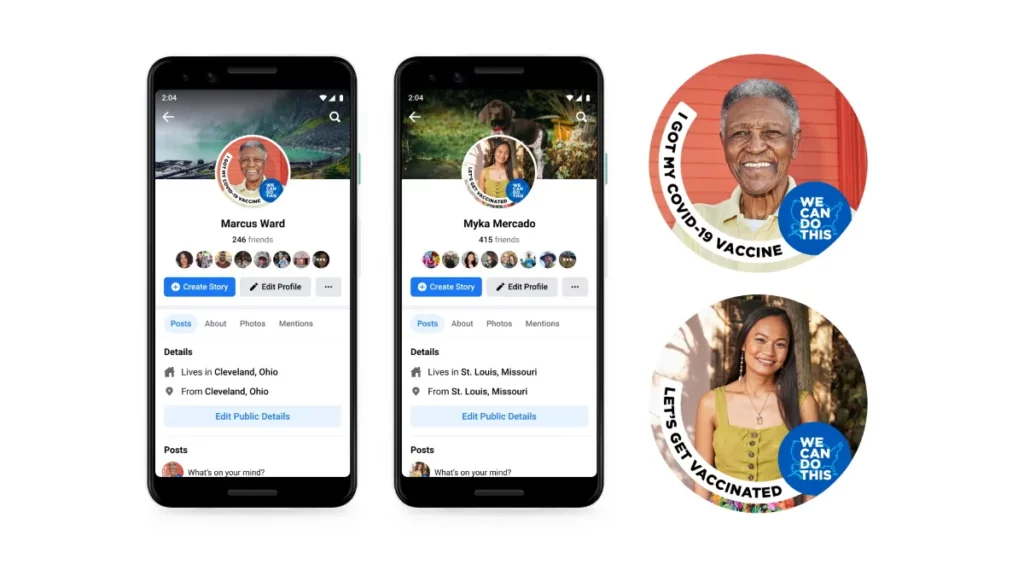
Or Facebook avatar frame is a feature tested by Facebook in 2016 and has become popular so far. It allows users to create decorative frames for their profile pictures to express their response to an event or organization. Or simply to show their love for their favorite team or club.
In addition, this feature also allows users to create their own frames to promote their brand. A created Facebook Frame can be used by many people, creating a large and synchronized communication campaign.
Facebook frames are a great way to expand your brand’s reach. They allow marketers to use a frame that represents their brand or design one to promote an event their business is hosting. Businesses can encourage customers to use their Facebook frame in Stories, photos, or profile pictures to increase brand awareness.
The Importance of Adding Frames on Facebook
Creating Facebook frames and connecting them to personalized content can have a number of benefits for your business. Before we get into the guide on how to add frames to Facebook, let’s explore the benefits!

Enhance brand awareness
Facebook frames play an important role in enhancing visual recognition. By personalizing your Facebook page through unique frames, you can create your own mark and style. At the same time, convey your message, personality and interests to your target audience. By using visual frames for your profile picture, you can enhance your online presence in an authentic way.
In particular, Facebook frames are a powerful tool for businesses to increase their online presence. Businesses can promote products, events or campaigns with branded frames. When users interact with these frames, they become brand ambassadors, spreading the brand and increasing brand awareness.
Community involvement
Creating and using profile pictures related to specific interests and events will increase engagement and build closer relationships between community members. This will bring users together to interact and support each other.
Create memorable moments
Using Facebook frames will help preserve memories and special moments. Adding personal frames to photos will add uniqueness and make the content more visual and attractive. Besides, you can share interesting and fun things with family and friends.
Express your creativity
Not only does it help convey messages, Facebook frames are like a painting that shows creativity. When users can design and choose frames that match their style and artistic preferences. This allows users to express their personality and creativity in a Facebook community that requires visual dynamism.
How do you add a frame on facebook?
Since early September 2021, users have not been able to create photo frames directly on Facebook. However, there are still many ways to create Facebook frames and add them to your profile picture, which we will guide you through right below:

Create frames with Frame Studio
However, when doing this, you need to have a photo design for the frame. You can use Adobe Illustrator or Canva to create unique and suitable photo designs as you like. Make sure the image has a transparent background in PNG format with a size no larger than 1MB. Since the recommended Facebook profile photo frame size is 183×183 pixels, you need to design a photo with a suitable size.
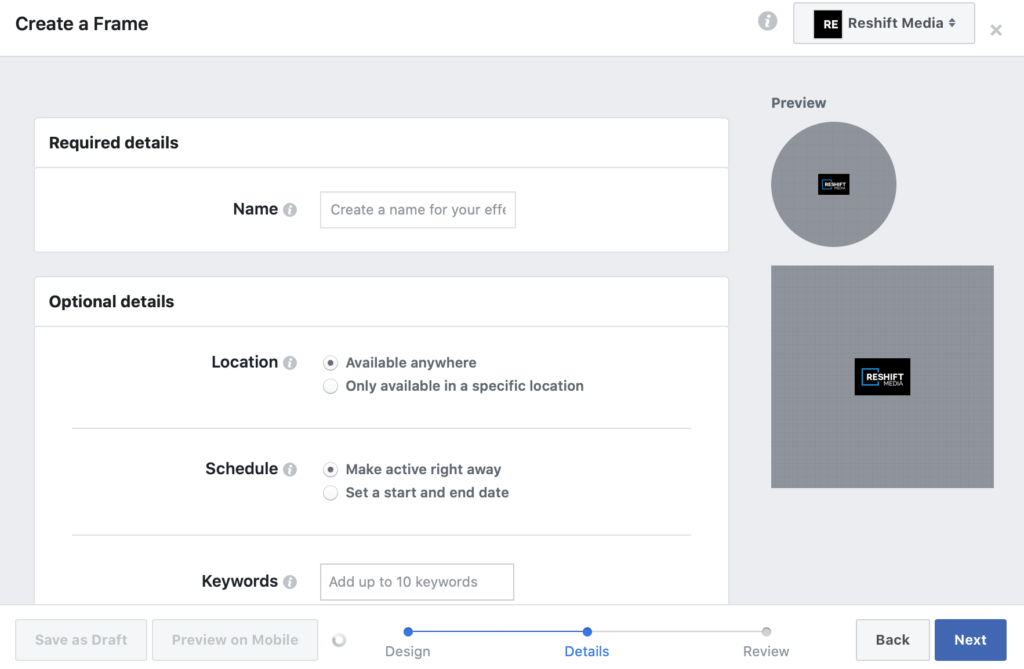
You access Facebook’s Frame Studio via the link: https://www.facebook.com/frames/manage/. In the Frame Studio Management tab interface, select Create frame and then select Start. When the frame creation interface appears, click Upload photo, select the decorative photo for the frame and select Open to proceed with the upload. At this time, the uploaded photo will appear on the background of the avatar photo, and you can customize it as you like. After adjusting, click Next to select the next step.
Here, you fill in all the required information including the frame name, the location where you want others to see this effect, the usage schedule and the search keywords. After filling in, select Next to update the information. Now you can Preview the avatar when using the newly created photo frame. Then you will have 2 options to Save as draft or select Post so that Facebook starts the moderation process from 1 to 2 days.
After successfully posting the effect, click Done to complete. If the frame you create meets the requirements of Facebook’s policy, it will be granted permission to use. After the Facebook frame is approved, you and many other users can use it for your profile picture.
Using Kapwing
Go to https://www.kapwing.com/ and select Start. Next, select a blank frame to create your profile frame. In Kapwing Studio, select the No Color option to keep the design size with a 1:1 aspect ratio and a transparent background. Now create a circle making sure the design image is within that circle.
Here you can change the font style and background color to make your frame more unique and attractive. Double check that your frame has a transparent background, if not, change the background color to No Color and then click the Export Image button to download the image to your device. Then upload your design to Facebook Studio for others to see.
Create Facebook Frame with CapCut Template
To access the CapCut login page, enter your login information or register with your Google, Tiktok, or Facebook account. Next, find and choose a frame template that suits your style and preferences to create your own personal mark.
Now integrate your chosen frame with your image by uploading it seamlessly to ensure consistency. Then use CapCut’s creative tools to edit the frame. You can adjust colors, add text, etc. to enhance the visual appeal of your custom frame. Finally, export your created frame and use CapCut’s sharing feature to showcase it on Facebook.
Through the information we have shared in the article, you have got a detailed answer to the question: “How to add a professional frame on Facebook?” quickly and simply. Hopefully you can understand and apply it successfully!
Contact Info
Are you in need of Facebook advertising or need to rent a quality Facebook advertising account? Don’t worry! Rentfb is a unit specializing in providing reputable Facebook accounts, as well as direct advertising support. Provides all types of advertising accounts such as facebook gambling ads to help you reach and create fast conversions.
Frequently Asked Questions
Your Facebook frame may be rejected because it does not meet Facebook’s community standards or the Camera Effects Platform’s terms and policies. Sometimes it may be rejected because the design is not cropped properly or does not follow the format guidelines. In this case, you should make the necessary changes and resubmit the Facebook frame. Facebook frame review usually takes about 1-3 days but can take up to 1 week.
If you want to delete the profile picture frame, click on the Facebook profile picture at the top right. Next, click on the Camera icon at the bottom right of the profile picture and select Switch to previous photo now and select Confirm to complete the change.