How do I add items to my Facebook shop

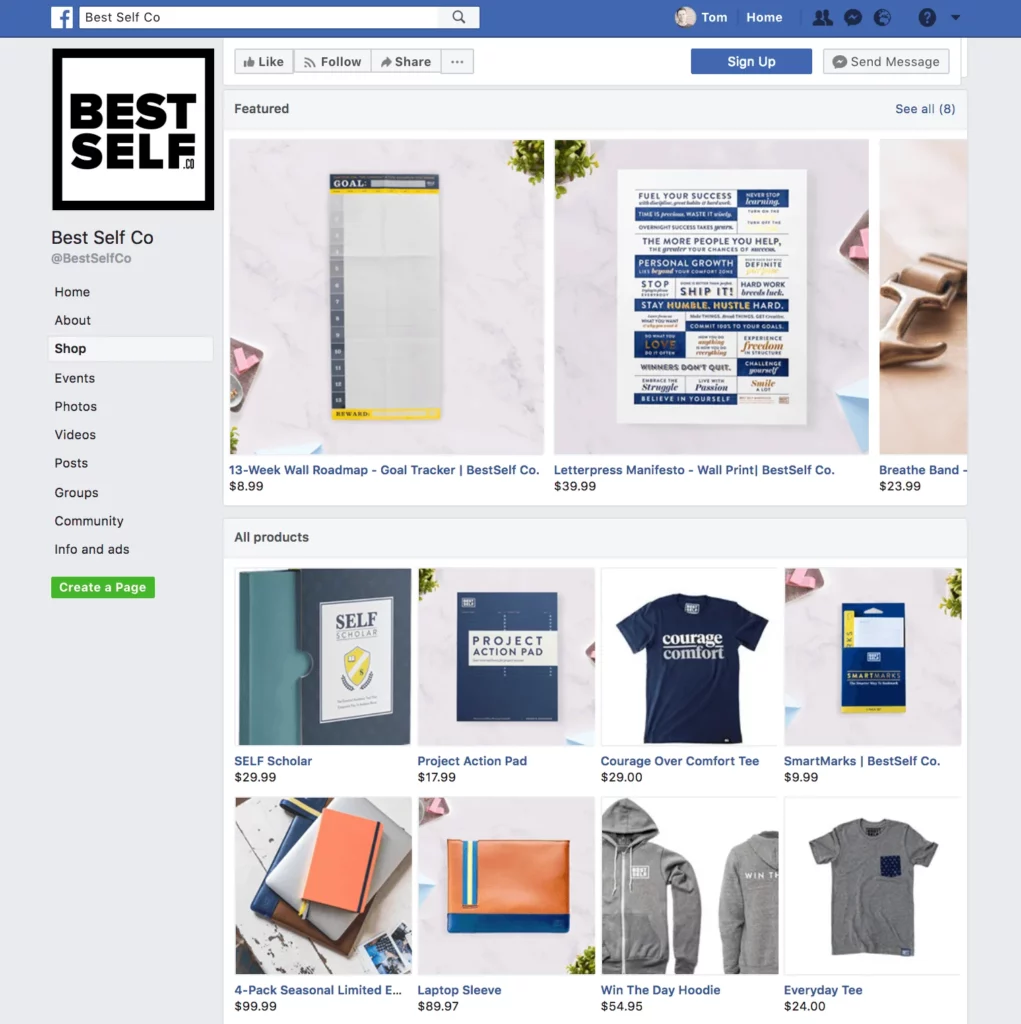
Setting up a store on a fanpage is an optimal way to bring products closer to a large number of potential customers. What is the way to create a fanpage store? How do I add items to my Facebook shop. Let’s find out the details with RentFB right now!
See how to set up a store on Facebook
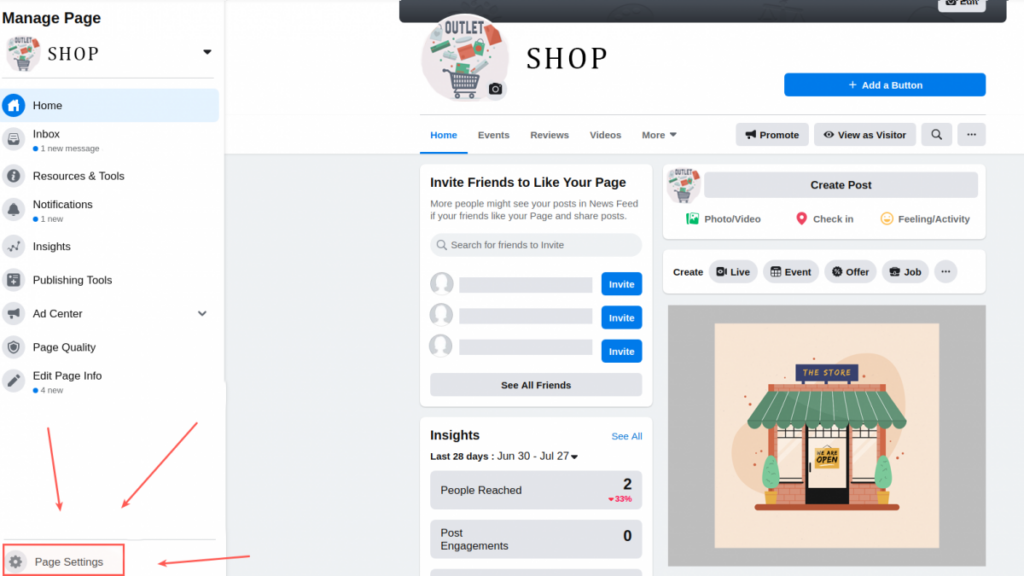
Before you start creating your Facebook shop, you need to make sure you have access to the Page you want to use as your main Page. You also need to set up your full Page structure before continuing. This will make the process of adding your shop easier and more efficient. To set up your Facebook shop, follow these steps:
Step 1: Go to Business Manager and open Store Locations. Here, you’ll start setting up stores for your business.
Step 2: In the top menu, select the Page where you want to add the store. This is an important step to determine the main Page that you will associate with the stores.
Step 3: Under “Manage store details,” click the + Add store button. You’ll be guided step-by-step through creating a new store Page for each of your business’s physical locations.
Step 4: After clicking “Add Store”, you will have 4 options to add locations for stores:
- Add manually: If you have less than 10 stores, this is a quick and simple way to enter store addresses and information one by one.
- Add multiple stores at once: Use a spreadsheet template to add information for multiple stores at once. This method is suitable when you have more than 10 stores.
- Connect Pages: If you already have Pages for some stores, you can connect those Pages to your main Page to easily import store details.
- Connect via API: This is a method for developers, using the API to automatically add store details.
Step 5: Once you have completed the above steps, you can click on the Download All Stores button to download an Excel spreadsheet containing the list of stores, which you can share with your team to continue working.
Step 6: If you want to add or edit store locations, simply go back to Store Locations, click + Add Store and follow the steps as described.
Step 7: After completing the above steps, you will have a Facebook Store Page for each of your physical stores. The default name for the Store Pages will be created based on the name of the main Page, along with a description of the location. You can also change the name of the Store Pages and create usernames for them in the Page settings to better match your strategy and branding.
With these steps, you’ve completed creating a Facebook store for your business’s physical locations, making it easy for customers to find and shop for your products directly on the Facebook platform.
How do I add items to my Facebook shop
If you manage fewer than 50 items, the easiest way to add products to your catalog is to do it manually in Commerce Manager. This method is great if you don’t have a lot of products to manage, as it saves time and ensures accurate data entry. However, keep in mind that this feature is only available for regular products and does not apply to items like hotels, flights, destinations, home listings, cars, or other types of items.
Note: You need to have catalog management permissions to add items to your catalog. This means you need to have access to the catalog to make changes. If you don’t have catalog management permissions, you won’t be able to perform the steps below.

Steps to add items to your Facebook store catalog
Step 1: Go to Facebook Commerce Manager and select the catalog you want to add the item to.
Step 2: In the Commerce Manager interface, open the Catalog tab and select Items. This is where you’ll manage all of your products.
Step 3: In the top right corner, click Add Item and select Manual from the drop-down menu. This is the method for products where you want to enter information manually.
Step 4: In the data entry form, each row will contain detailed information about an item. First, you need to add an image for the item. The image must have a minimum resolution of 500 x 500 pixels, JPEG or PNG format, and a size not exceeding 8 MB. Clear and high-quality images will help customers easily identify the product.
Step 5: Next, you need to enter the name, description, and other details about the item. You can scroll to the right or use the Tab key to move to the next information fields and fill them in. Provide as much information as possible about the product to help customers understand better and make an easy purchase decision.
Step 6: If you want your item to appear in Advantage+ catalog ads, you’ll need to enter your item’s Content ID to match the Content ID in your website’s Meta Pixel code. This will help your product appear correctly in ad campaigns.
Step 7: If the item has different variants such as size, color, you can select Add Variation from the drop-down menu on the left of the product row. Then, edit the difference information of the new variant. You can select + New Variation to add more variants for the same item.
Step 8: If you want to add multiple items, you can select + New Item or use the drop-down menu to add 5 to 10 items at once. This will save you time when entering multiple products.
Step 9: If you want to duplicate an existing item, you can select the Duplicate Item icon and edit the duplicate item’s differences. This is a quick way to add similar products without having to start over.
Step 10: After filling in all the information, click on the Upload item button at the bottom right. A confirmation window will appear, and you just need to select Done to complete adding the item to the catalog.
Step 11: Once you have completed the above steps, your item will be added to your catalog. You can return to the Items tab to view or edit the items you have added. If needed, you can continue editing information or add more items to your catalog.

With this manual method, you will easily manage the items in your catalog and ensure that product information is always updated and accurate, making it easier for customers to search and shop on Facebook. Thank you for reading, stay tuned for our next articles to learn together!
Contact Info
Are you in need of Facebook advertising or need to rent a quality Facebook advertising account? Don’t worry! Rentfb is a unit specializing in providing reputable Facebook accounts, as well as direct advertising support. Provides all types of advertising accounts such as casino ads on facebook to help you reach and create fast conversions.
Frequently Asked Questions
How to Create a Shopping Cart on Facebook
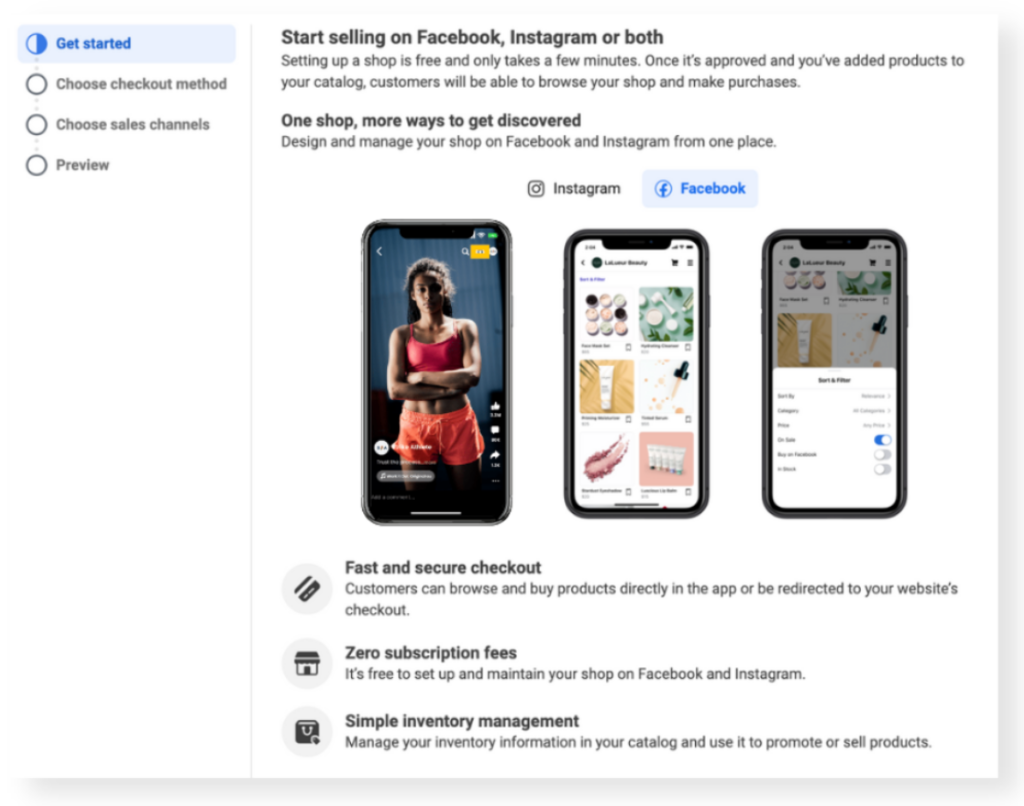
Creating a shopping cart on Facebook is an important step to help you provide a convenient online shopping experience for customers. To do this, you need to access Commerce Manager, then select the Shop section. Here, you add products by entering details such as name, description, image, price and quantity. Make sure the products are arranged logically so that customers can easily find them. Once the shopping cart is complete, you can activate the shopping feature so that customers can choose products and pay directly on the platform, increasing the possibility of purchasing conversion.
To set up a store location on Facebook, you need to go to Business Manager and select Store Locations. Then, select the Page where you want to add the store and click + Add Store. Here, you can add store locations manually or use spreadsheet templates to add multiple stores at once if you have a large number. You can also connect existing Facebook stores to your main Page or use the API to automatically add store details. Once you’re done, you’ll be able to manage and update information about your stores on Facebook more easily.